I started open chicken as a place to document a chicken-egg incubator project that I’ve been working on. Because meat prices are increasing and the integrity of commercially produced meat seems to be declining, I wanted to make it easier for individuals to raise their own chickens for meat.
There’s a few problems, though. A lot of people are stretched pretty thin, financially speaking, and larger chicken incubators can be pretty expensive. Smaller incubators are available at lower prices, but their quality can be pretty spotty. I wanted to make an incubator that is cheaper and repairable, so I am here trying to document the process.
Egg incubation isn’t particularly complicated and has two primary requirements: Keep the temperature and humidity in a particular range and rotate the eggs on a regular basis.
Temperature
Chicken eggs need a temperature between 99.5°F and 100.5°F. In nature, the hen uses her feathers and body to regulate the temperature as she sits on the eggs. In an incubator there is some type of heating element that warms the air and a box to keep the warm air enclosed around the eggs.
I started this project using an old mini-fridge that had a lower refrigerator compartment and an upper freezer component. My fridge stopped keeping my food adequately cold, so I ended up getting a different full-sized one, but figured I could use the mini fridge as part of an incubator eventually. Refrigerators, especially non-functional refrigerators, can be found pretty easily for cheap or even free. You may be able to get one from your local landfill, FB marketplace, craigslist, or even just keeping an eye out on the curb.
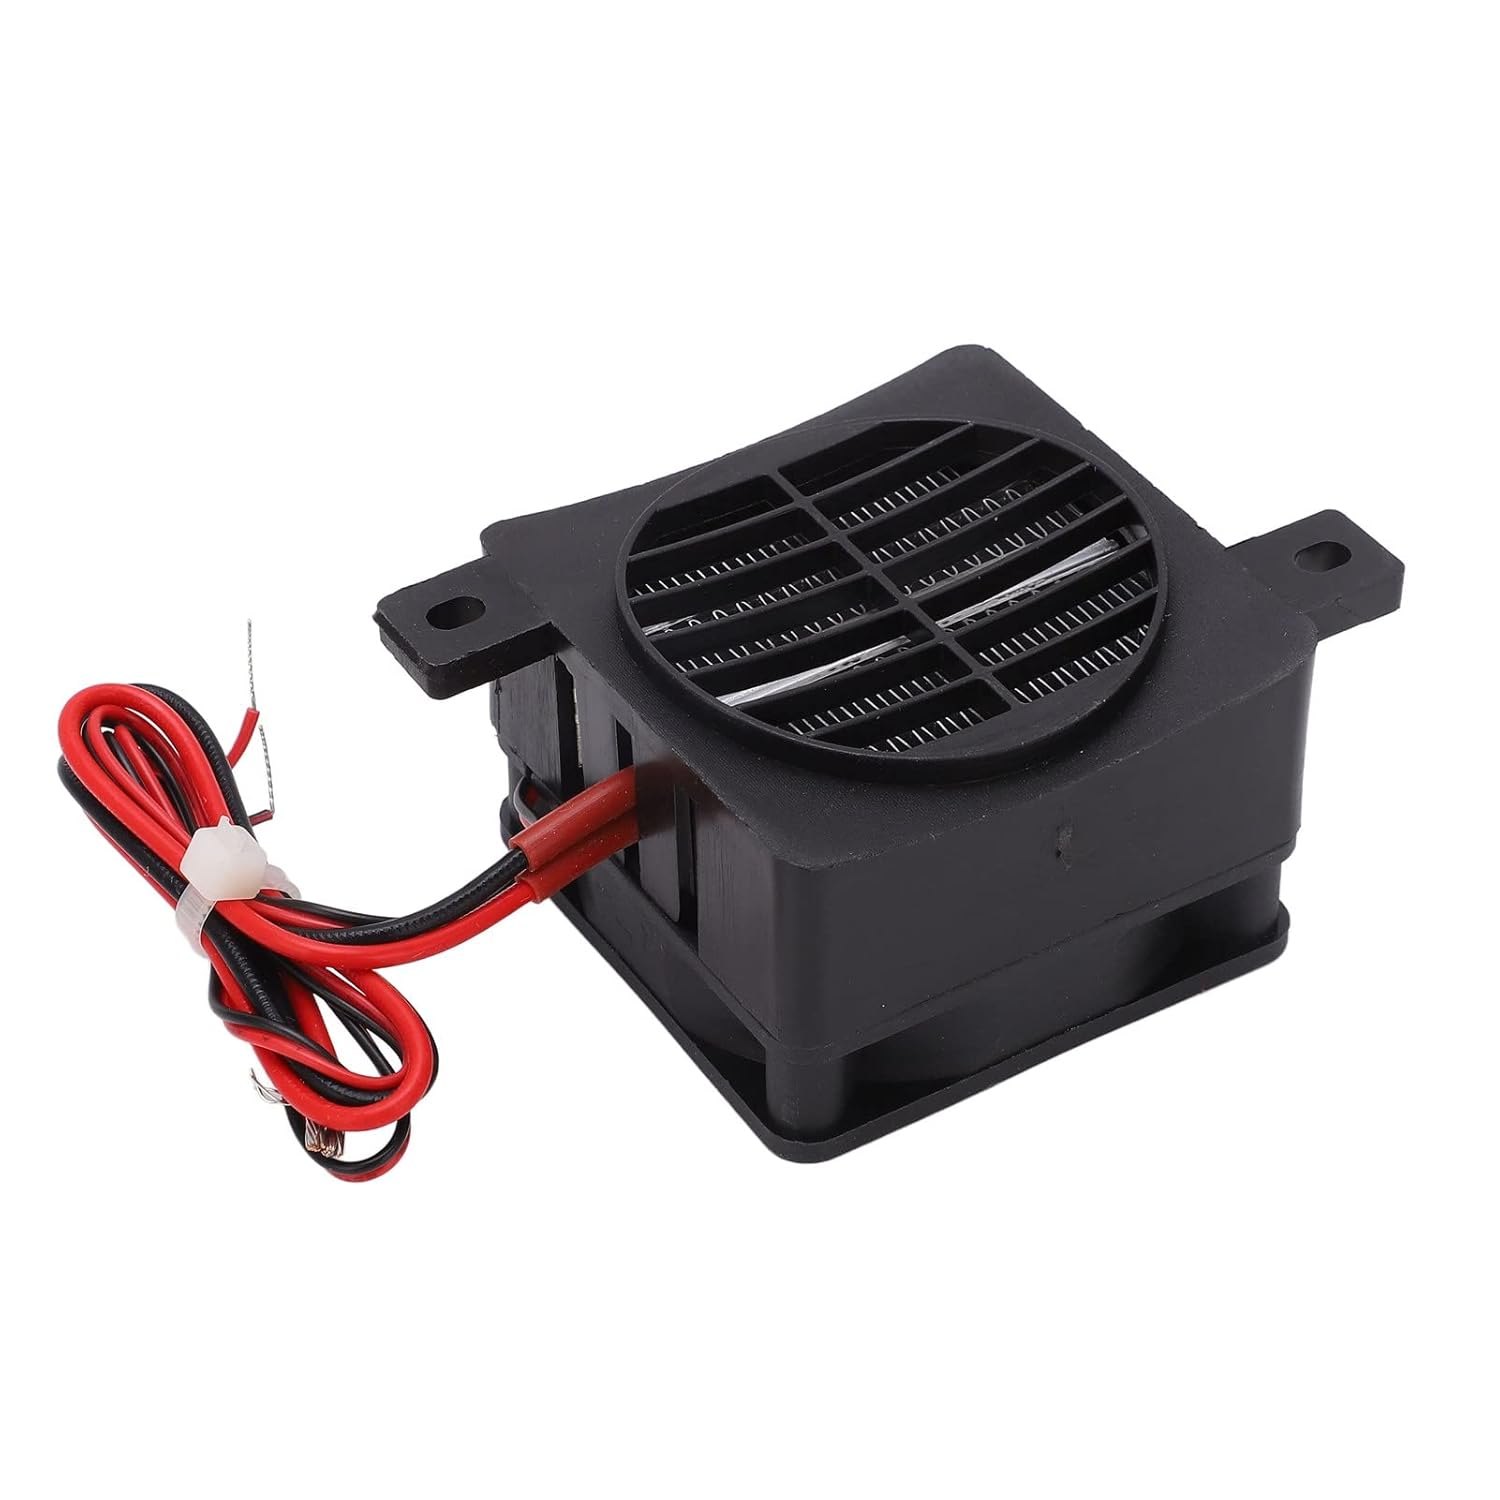
The heating element that I’m using is a 50 watt PTC heater with a fan attached. I chose it because it uses direct current (DC) at about 12 volts and I wanted to be able to run the incubator on a 12v battery, in case the utility provided power went out. My project uses two heater/fan combos, one in each compartment to keep the eggs warm.
Rotation
Eggs need to be rotated on a regular basis so that the developing embryo doesn’t stick to the inside of the egg shell. In nature the hen will shift her eggs using her beak several times a day. Most incubators will also do this, although the method varies by incubator. Some incubators will roll the eggs periodically using a motor to push a tray. Others will turn the whole egg tray at different angles. Some basic incubators will require that the user mark and rotate the eggs by hand.
At present, I’m using a linear actuator to push a diy egg tray to rotate the eggs. I chose this because the fridge had wire shelves and I could make it work with one actuator turning two shelves, but it probably isn’t the best way to go, generally, because many fridges don’t have wire shelves. The best/easiest/cheapest method to rotate the eggs will likely still be up in the air.
Elecronic Brains
The brains of the incubator is an esp8266, an inexpensive arduino style microcontroller. It controls temperature sensors, relays (switches) to turn the heaters on and off, timing of the rortation, and information display. It can be programmed using the Arduino IDE, which is free to download. I hope to be able to make the software I’m using freely available as well, or perhaps sell pre-programmed micro controllers.
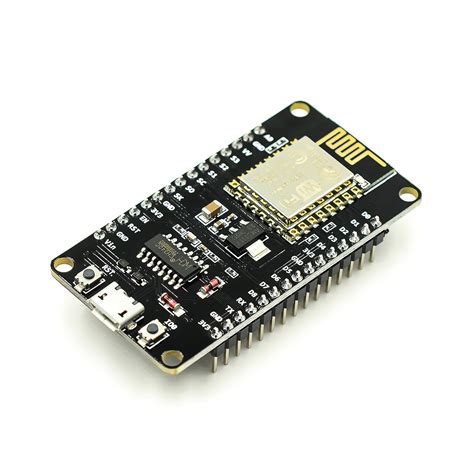
Right now, the esp8266 is housed with other electronic components in a project enclosure. Eventually I would like to be able get a circuit board made, which I may also sell, although I would keep the schematics available for free. A dedicated circuit board would help to remove a rats nest of wires in the project enclosure, making maintenance easier.
Other Electronics
The incubator uses a number of inexpensive, off the shelf electronics components that I will list below. .
| Component | Description |
|---|---|
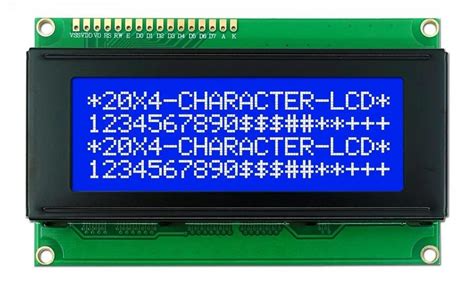 | 20×4 LCD display. This is used to display sensor data such as the temperature and humidity. It uses i2c to communicate with the esp8266. |
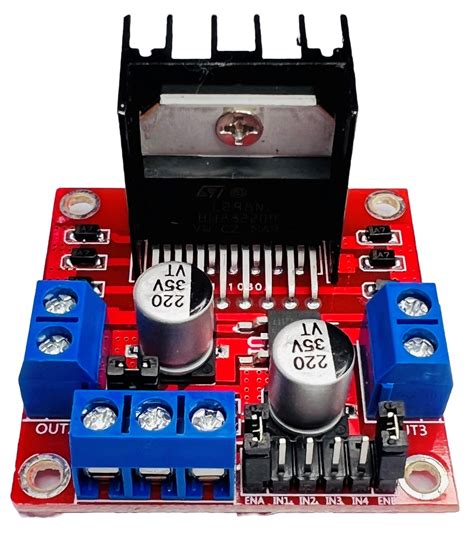 | L298N — This is a motor controller for the egg tray. It allows the polarity of the current running to the linear actuator/egg mover to be reversed, producing forward and backward motion. Motor sized power comes from the 12 volt source, while it receives signals from the esp8266. |
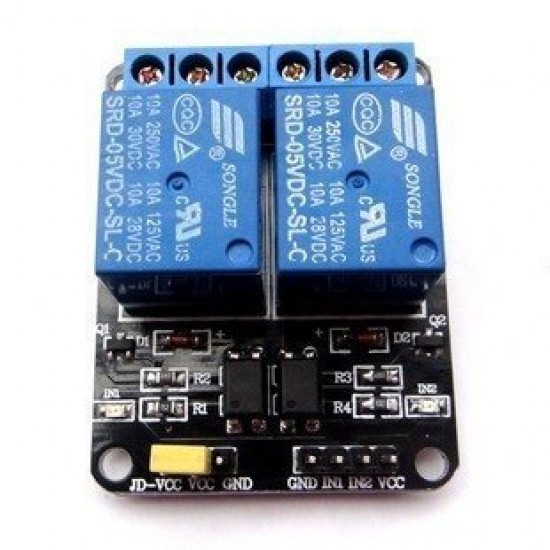 | HL52S — This is a relay that turns the heating element/fans on and off. It also receives power from a 12v source, and is controlled by the esp8266. |
 | TCA9548A– I2C multiplexer — Because the ESP8266 has a limited number of pins to attach to, the project uses a multiplexer to control signals from a pair of pins to several components. In this case the multiplexer routes signals to and from the temperature sensors, as well to the lcd screen. |
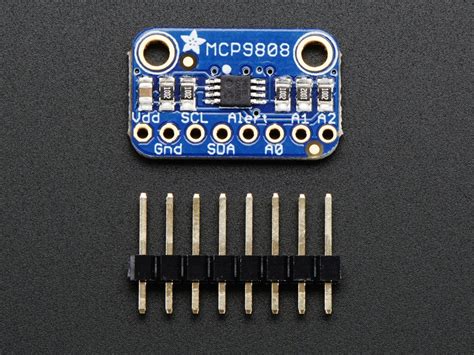 | MCP9808 — This is a temperature sensor. There is one in the upper and lower compartments. I chose this because it is I2C compatible and becasue it has +-0.25 C accuracy. There are cheaper temperature sensors out there, but because eggs need a pretty specific temperature range, I didn’t want the temperature to be off by much, to help maximize hatching success. |
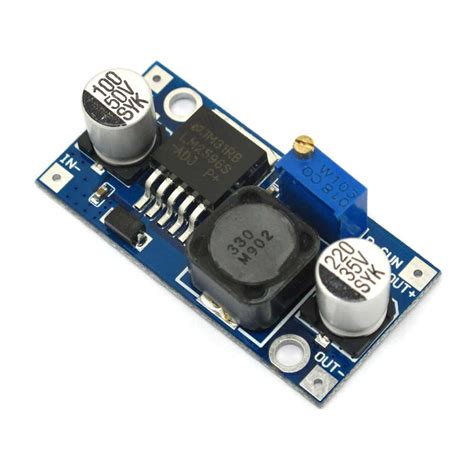 | LM2596 — Voltage regulator. This takes some of the incoming 12v current and lowers the voltage. This particular regulator is adjustable, so you can have an input voltage in a range between 3.2v to 35v, and an output range of 1.25v to 30v. I set mine have an input of 12 volts and reduces it to 5v, to run the esp8266 and the rest of the electronics. |
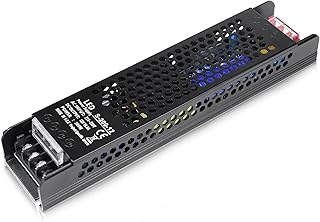 | Power Supply– The components of this project all run on DC power, but because of the convenience of 120v household current, I decided to use a power supply to convert 120v AC current to 12v DC. In the event of a power outage, the power supply could be disconnected and the incubator hooked up to a 12v deep cycle battery and run for several more hours so that the eggs aren’t lost to cold. The power supply I am using is 200 watt, although you could probably get by with a smaller 120 watt supply to run the heaters, fans and electronics. |
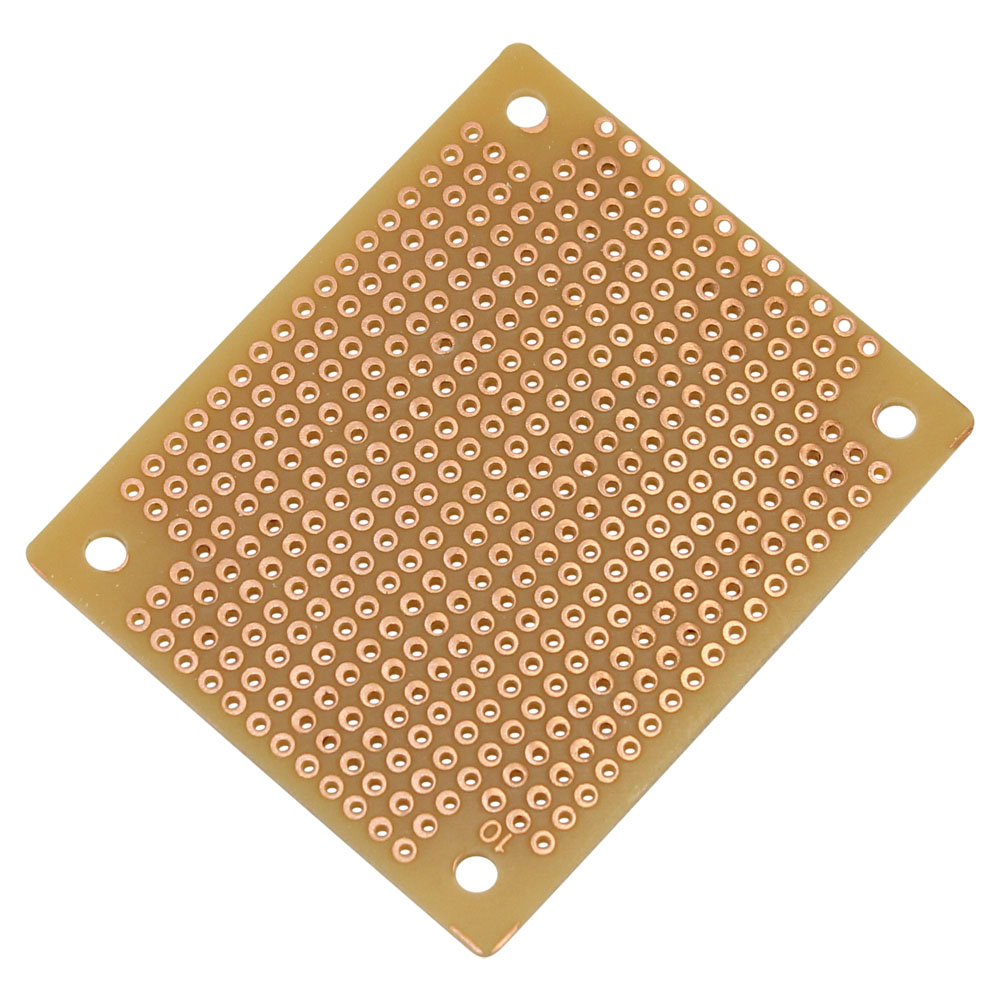 | Perfboard — I used a small piece of perfboard to route the 5v power because the esp8266 doesn’t have enough power pins to run all the electrical components. |
So that’s a summary of the project and its main components. There are other manual switches and jumper wires etc, but I wanted to do this first post to describe things and then fill in more with additional posts as I go.

Leave a comment